
Jetstream 설치하기
composer require laravel/jetstreamphp artisan jetstream:install inertiainertia라는 stack을 사용하겠다.
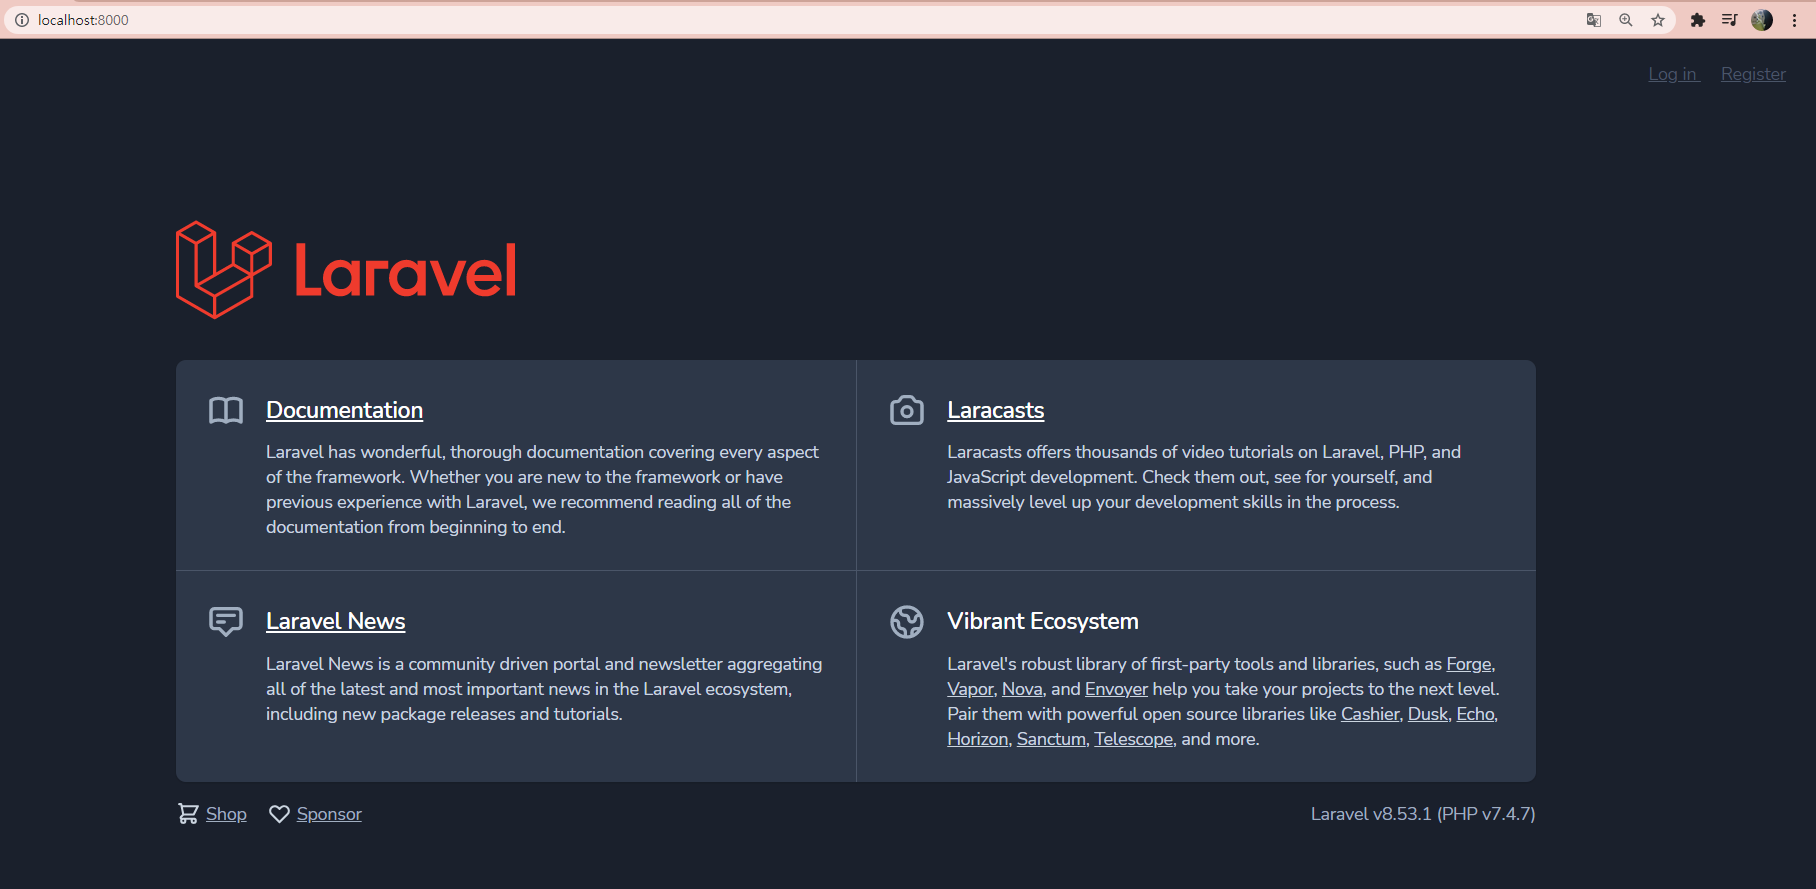
서버를 동작시키고 웹페이지로 확인해 보면, 우측상단에 Login과 Register가 생긴 것을 확인할 수 있다.

Jetstream을 설치하면, 자동적으로 tailwind까지 설치되어 적용되는 것을 확인 할 수 있다.
Email인증 회원가입
회원가입을 할 경우, Email을 인증해야지만 가입이 가능하도록 하기 위해서는 Jetstream의 기능을 사용하면, 쉽게 구현 할 수 있다.
User.php
class User extends Authenticatable implements MustVerifyEmail우선 User model에서 MustVerifyEmail 인터페이스를 추가한다.
fortify.php
'features' => [
        Features::registration(),
        Features::resetPasswords(),
        Features::emailVerification(),
        Features::updateProfileInformation(),
        Features::updatePasswords(),
        Features::twoFactorAuthentication([
            'confirmPassword' => true,
        ]),
.env
MAIL_MAILER=smtp
MAIL_HOST=smtp.gmail.com
MAIL_PORT=587
MAIL_USERNAME=이메일
MAIL_PASSWORD=비번
MAIL_ENCRYPTION=tls
MAIL_FROM_ADDRESS=이메일
MAIL_FROM_NAME="${APP_NAME}"
위의 과정을 마치면, 기본 설정이 끝났다.
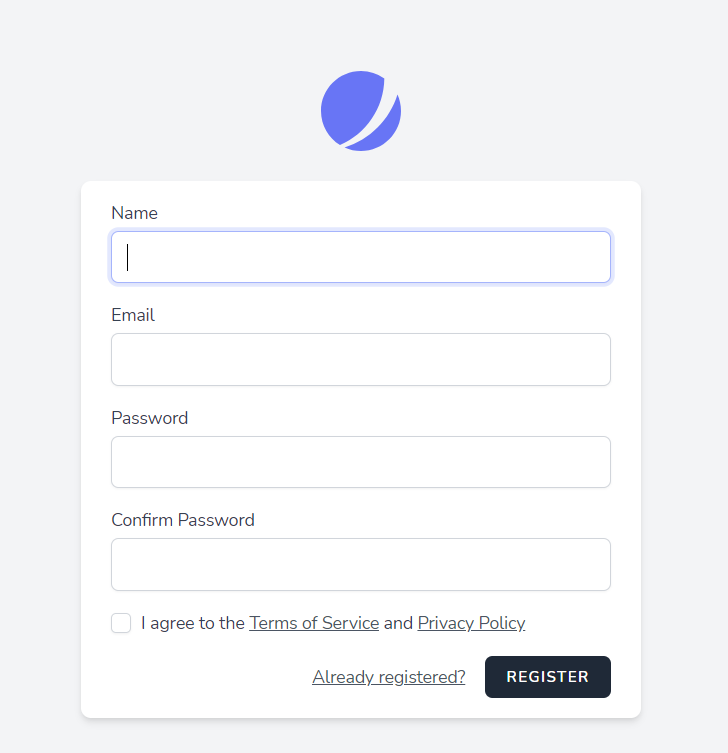
회원가입에 가서 가입을 해보면,
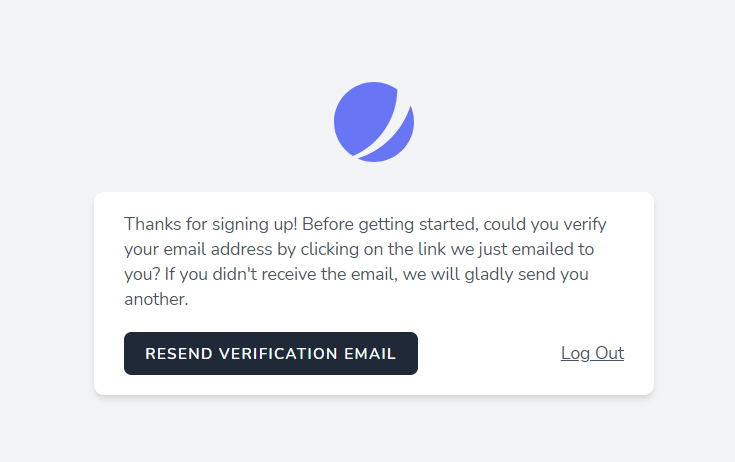
Email인증이 필요하다는 문구가 나온다.

실제로 가입한 Email주소 메일함을 확인해보면, 메일이 와있는 것을 볼 수 있다.
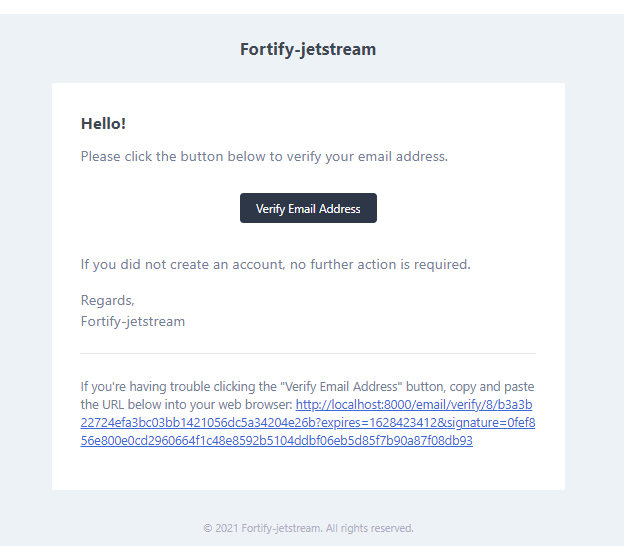
Verify Email Address 버튼을 누르면 인증이되고, 정상적으로 로그인이 되는 것을 확인할 수 있다.
이용약관 커스텀
우선 이용약관을 사용하기 위해서는 설정이 필요하다.
config/Jeststream.pjp
'features' => [
        Features::termsAndPrivacyPolicy(),
    ],
TermsOfService.vue
<div v-html="terms"

props: ['terms'],위 파일에 terms를 불러오는 것을 확인할 수 있다.
terms.md
---
__Advertisement :)__

- __[pica](https://nodeca.github.io/pica/demo/)__ - high quality and fast image
  resize in browser.
- __[babelfish](https://github.com/nodeca/babelfish/)__ - developer friendly
  i18n with plurals support and easy syntax.

You will like those projects!

---

# h1 Heading 8-)
## h2 Heading
### h3 Heading
#### h4 Heading
##### h5 Heading
###### h6 Heading

생략terms는 검색창에 markdown example로 검색해서 가져오면 된다.
위처럼 설정을 하고,

회원가입창에서 Terms of Service를 클릭해보면
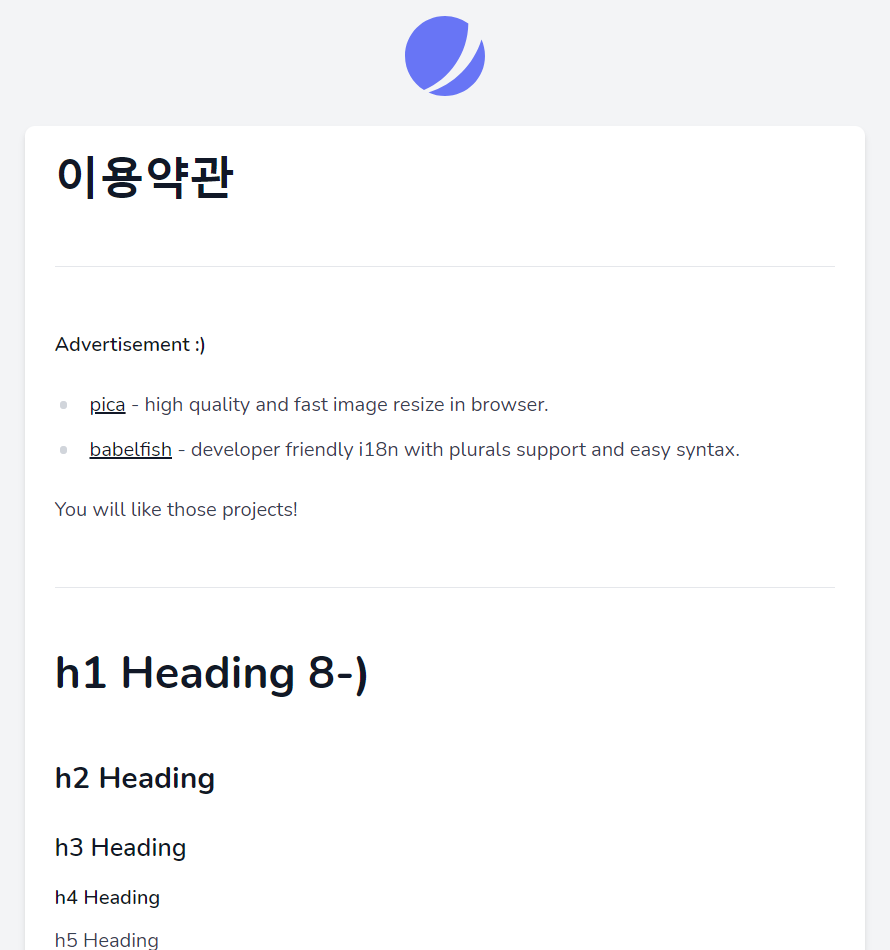
커스텀한 이용약관창이 보이는 것을 확인할 수 있다.
Jeatstream 대표 마크 변경

Jetstream을 사용하면, 어딜가나 위의 마크가 보이는 것을 볼 수 있는데, 이것을 변경할 것이다.
위의 마크가 있는 파일을 확인해보면
import JetAuthenticationCardLogo from '@/Jetstream/AuthenticationCardLogo.vue'AuthenticationCardLogo.vue에서 import해오는 것을 알 수 있다.
AuthenticationCardLogo.vue
<template>
    <Link :href="'/'">
        <svg class="w-16 h-16" viewBox="0 0 48 48" fill="none" xmlns="http://www.w3.org/2000/svg">
            <path d="M11.395 44.428C4.557 40.198 0 32.632 0 24 0 10.745 10.745 0 24 0a23.891 23.891 0 0113.997 4.502c-.2 17.907-11.097 33.245-26.602 39.926z" fill="#6875F5"/>
            <path d="M14.134 45.885A23.914 23.914 0 0024 48c13.255 0 24-10.745 24-24 0-3.516-.756-6.856-2.115-9.866-4.659 15.143-16.608 27.092-31.75 31.751z" fill="#6875F5"/>
        </svg>
    </Link>
</template>

<script>
    import { Link } from '@inertiajs/inertia-vue3';

    export default {
        components: {
            Link,
        },
    }
</script>svg 태그 부분이 바로 저 로고이다.
여기에 원하는 파일을 가져오면 된다 .


별모양의 파일을 svg 태그로 불러왔더니 모든 곳에서 마크가 변경된것을 확인할 수 있다.
'IT 공부 > Laravel' 카테고리의 다른 글
| [Laravel + Vue.js ] 나만의 To Do List만들기 - Vue 설치 및 초기설정 (0) | 2021.08.29 |
|---|---|
| [Laravel + Vue.js] 나만의 To Do List 만들기 (0) | 2021.08.29 |
| [ Laravel ] 유저 블라인드 기능 (0) | 2021.05.04 |
| [ Laravel ] 웹사이트 개발 (친구 요청 및 친구 추가 기능) (0) | 2021.04.14 |
| [ Laravel ] Vue.js로 실시간 채팅(메세지 저장/불러오기) (0) | 2021.04.01 |